The video plays from YouTube when you press play; YouTube's privacy policy applies.
How to Level an RV, Camper or Trailer
Whether you drive a campervan, a motorhome or tow a caravan, getting level is the first job at every stop. This guide covers why it matters, how level is level enough, how much lift you actually need, and the step-by-step routine for motorhomes and trailers — plus the mistakes and tricks experienced travelers learn the hard way.
Free on Android · One-time purchase on iPhone & iPad
The short answer
- Pick the flattest, firmest spot and decide which way the bed and door should face.
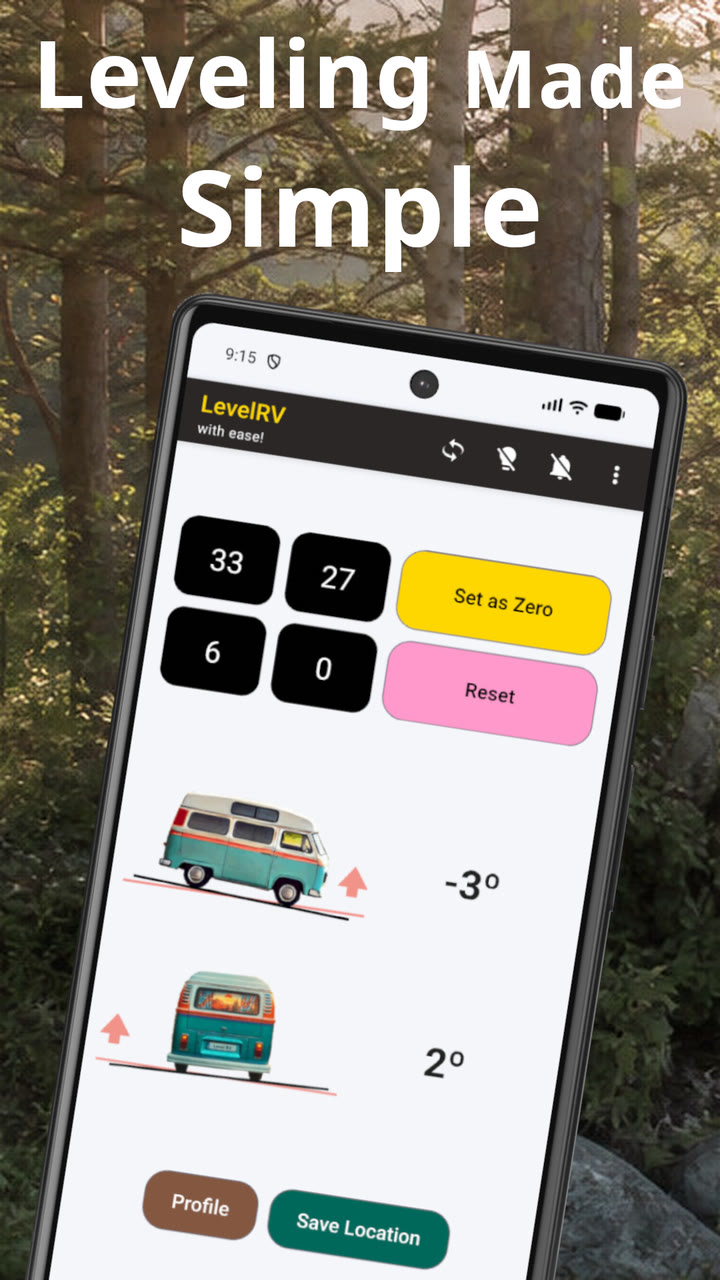
- Measure the tilt side to side and front to back with a level or a phone inclinometer (like Level RV).
- Fix side to side first by driving the low-side wheels onto ramps or blocks.
- Then fix front to back — with ramps on a motorhome, or the jockey wheel / tongue jack on a trailer.
- Chock the wheels, lower the stabilizers just to firm contact, and re-check. Within about 1° feels perfectly level.
Why Leveling Matters
A few degrees of tilt don't look like much from outside, but inside a vehicle you live in they show up everywhere — from the fridge to the shower tray to how well you sleep.
The Fridge
Absorption fridges (the 3-way gas / 12 V / 230 V type) rely on gravity to circulate coolant. Run them tilted and they cool poorly or can be damaged over time — your fridge's manual gives the exact limit. Compressor fridges are far less sensitive.
Water & Drains
Shower trays and sinks pool water on the wrong side, grey tanks don't empty fully, and tank gauges read wrong when the vehicle leans.
Sleep & Comfort
Rolling to one side of the bed, a frying pan that slides, a mug that creeps across the table — even 2° is easy to feel when you lie down.
Doors & Cupboards
On a tilt, doors swing open or slam shut on their own, and the habitation door can bind in its frame.
Stability
A level, well-supported vehicle rocks less when people move inside or the wind picks up.
Less Strain
Slide-outs, awnings and the chassis itself are designed to work on a level base. Twisting the body on uneven ground puts stress where it shouldn't be.
How Level Is Level Enough?
Perfect 0.0° is a nice goal, but nobody can feel the difference between 0° and half a degree. Within about 1° in both directions feels perfectly level to most people and keeps every system happy. Between 1° and 2° you'll notice it in bed and in the shower; beyond 3° it's time to break out the ramps.
Side to side matters more than front to back. Your vehicle is narrow, so a small height difference between the left and right wheels makes a large angle — and you sleep and shower across that axis. Front to back is spread over the whole wheelbase, so the same height difference makes a much smaller angle.
The table shows how much lift cancels a given slope for a typical vehicle with a 2.0 m (79 in) track width and a 7.0 m (276 in) front-to-back length. Side to side it's not a lot: a standard 3-step ramp of about 10 cm / 4 in covers roughly 3°. Front to back the numbers grow fast, which is why it pays to park along the slope rather than across it, or to let a trailer's jockey wheel do the work.
| Tilt | Slope | Side to side, 2 m | Front to back, 7 m |
|---|---|---|---|
| 0.5° | 0.9% | 1.7 cm · 0.7 in | 6.1 cm · 2.4 in |
| 1° | 1.7% | 3.5 cm · 1.4 in | 12 cm · 4.8 in |
| 2° | 3.5% | 7.0 cm · 2.7 in | 24 cm · 9.6 in |
| 3° | 5.2% | 10.5 cm · 4.1 in | 37 cm · 14.4 in |
| 5° | 8.7% | 17.5 cm · 6.9 in | 61 cm · 24.1 in |
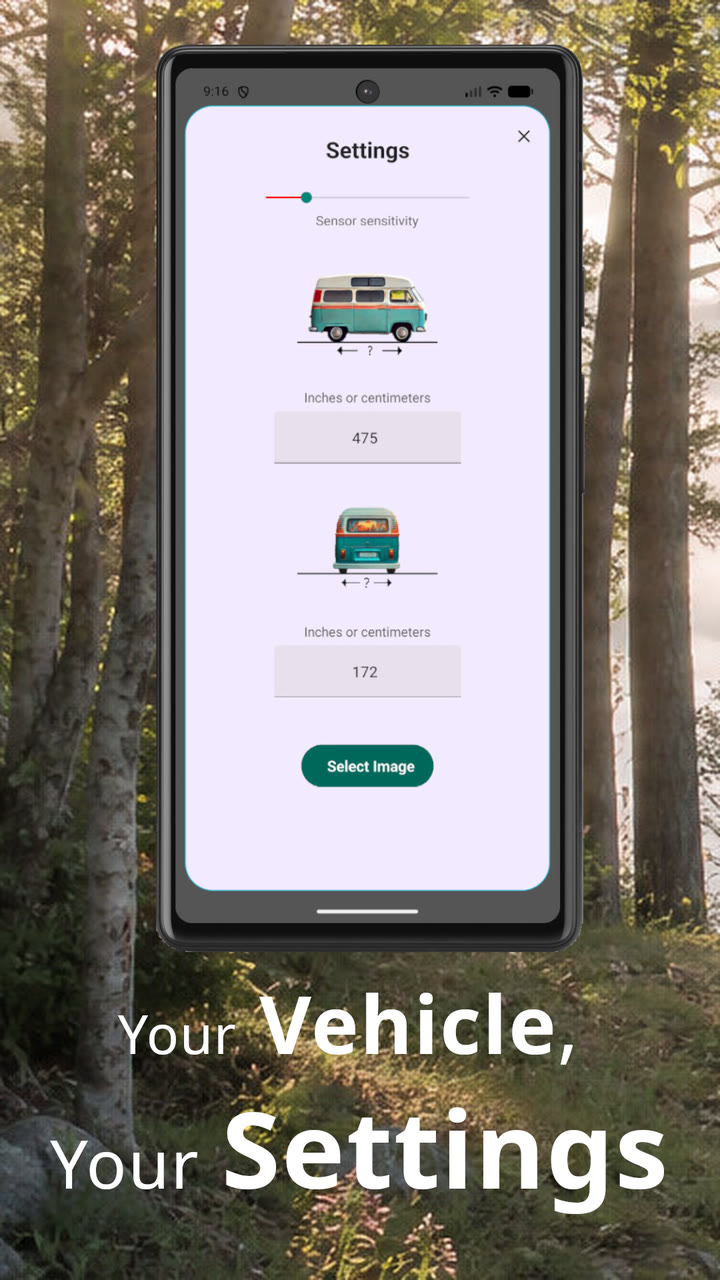
No mental math: enter your track width and wheelbase once in the Level RV app and it shows the exact lift for each wheel, in centimeters or inches.
Choosing & Reading a Pitch
The easiest leveling is the leveling you don't have to do. Thirty seconds spent looking at the ground saves ten minutes of shuffling ramps.
- Walk it first. Slopes are hard to judge from the driver's seat. Look at how rainwater would run and where puddles have dried.
- Turn the vehicle, not the ground. Parking along the slope instead of across it turns a big side-to-side tilt into a small front-to-back one, which is easier to fix and easier to live with.
- Head uphill. If you can't get perfectly level, make sure the bed's head end is the high end.
- Firm beats flat. Gravel and hard standing hold ramps; wet grass and sand let them sink or slide overnight.
- Mind the door side. Think about where the door, awning and steps will open before committing, especially on a slope.
- Leave room for the ramps. You need about a ramp's length in front of or behind the wheels to drive on.
- Check overhead and around. Low branches, hookup posts and soft verges all matter once you're raised up.
- Arrive in daylight when you can — reading a pitch in the dark is half guesswork.
Leveling Gear
You don't need much, but each piece has a specific job — and using the wrong one for the job is behind most leveling damage.
Ramps or Leveling Blocks
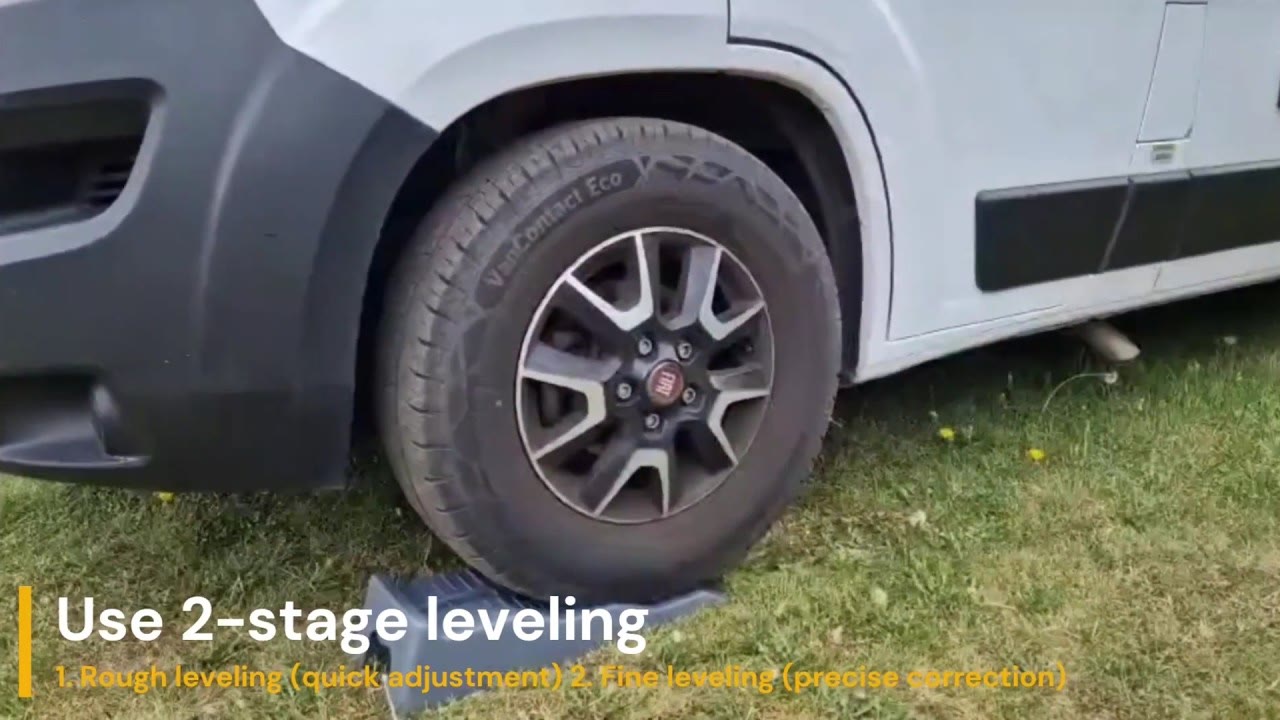
Stepped ramps (typically 3 steps up to 10–12 cm / 4–5 in) are quick for motorhomes. Stackable interlocking blocks or curved levelers suit trailers. The whole tire footprint must sit on the surface — never let a tire hang over an edge.
Wheel Chocks
Wedges that stop the vehicle rolling. Essential before you unhitch a trailer, and good practice on any ramp.
Jacks & Stabilizers
Hydraulic leveling jacks can lift and level. Corner steadies and scissor stabilizers cannot — they only stop rocking once the vehicle is already level.
Boards & Pads
A square of plywood under a ramp or stabilizer foot spreads the load on soft ground. A rubber mat stops ramps skidding on wet grass or ice.
Bubble Level
Cheap and needs no battery, but it reads only the surface it sits on, which may not be level with the chassis, and it can't tell you how much to lift.
Phone Inclinometer
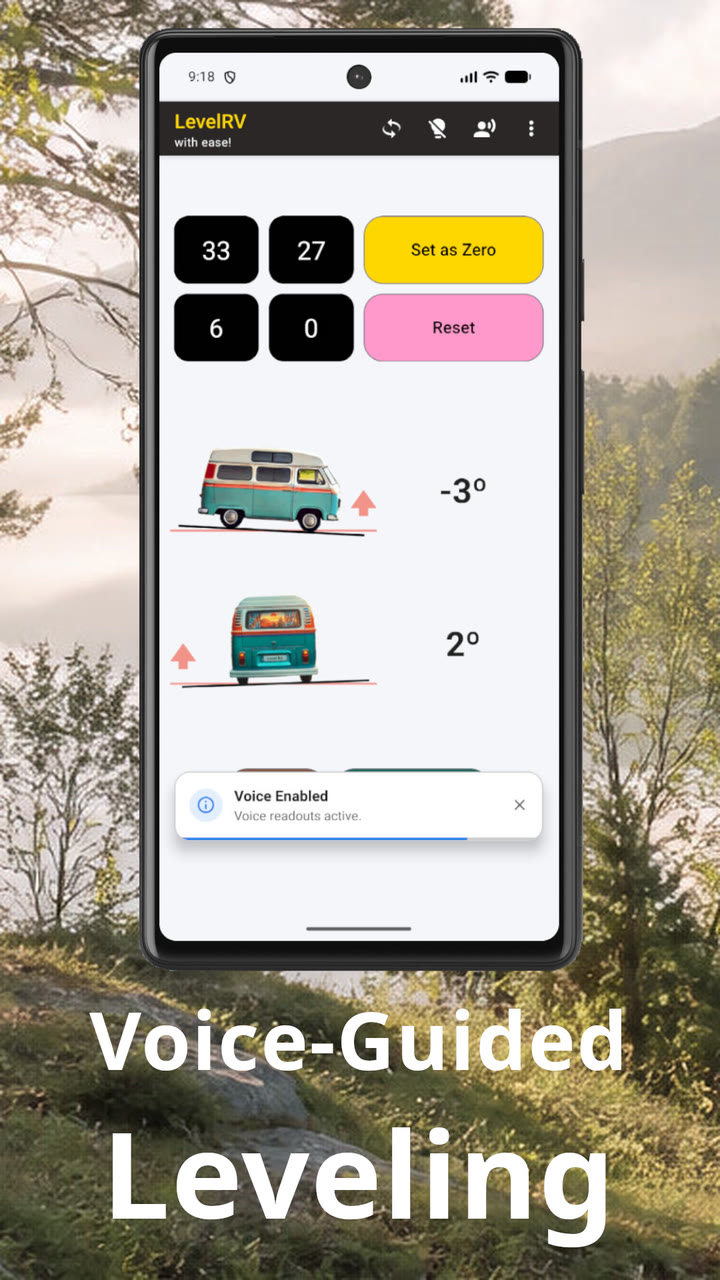
Your phone already has an accurate tilt sensor. A leveling app such as Level RV turns it into a two-axis level, and once zeroed to your vehicle it can sit anywhere stable, not just on the floor.
Not sure a phone is accurate enough? Read Phone vs bubble level: how accurate are phone sensors?
Step by Step: Motorhome vs Trailer
The principle is the same — side to side first, then front to back, then stabilize — but the order of operations differs because a trailer can only be driven onto ramps while it's hitched.
Motorhome or Campervan
Every wheel can be driven onto a ramp, so both axes are fixed by driving.
- 1
Park and read the tilt
Stop roughly in position, handbrake on, and read both axes. Note which corner is lowest.
- 2
Work out the lift
Side to side: both low-side wheels need the same lift. Front to back: lift both front or both rear wheels. If you need both, lift the lowest corner most.
- 3
Place the ramps
Push each ramp snug against its tire and straight in line with it. Front ramps for driving forward, rear ramps for reversing.
- 4
Drive on slowly
Creep up, with a spotter or a phone that calls the reading out loud. Stop on a flat step, not on a slope between steps.
- 5
Secure
Handbrake on, leave it in gear or Park, and put chocks behind the wheels that aren't on ramps.
- 6
Fine-tune and stabilize
Re-check. If fitted, use hydraulic levelers per the manual, keeping the wheels on the ground. Lower stabilizers to firm contact only.
Caravan or Travel Trailer
Side to side is fixed with the car still attached; front to back with the jockey wheel or tongue jack once unhitched.
- 1
Position while hitched
Back or pull the trailer into its final spot and read the side-to-side tilt. Ignore front to back for now.
- 2
Ramp the low side
Place a ramp or blocks at the low-side wheel(s) and tow onto them slowly. On a tandem axle, raise both wheels on that side together, or use a tandem leveler.
- 3
Chock before anything else
Chock the wheels on both sides and apply the trailer's handbrake before you unhitch. This is the step that prevents runaway trailers.
- 4
Unhitch
Lower the jockey wheel or tongue jack onto a pad, disconnect the electrics and breakaway cable, release the coupling and move the car away.
- 5
Level front to back
Wind the jockey wheel or tongue jack up or down until front to back reads level. A second phone outside saves a lot of walking back and forth.
- 6
Lower the steadies
Lower each corner steady until it just bites, working diagonally. Don't lift the trailer with them — then take a final reading.
Fifth wheels follow the trailer route: blocks under the low side while hitched, chock, then use the front landing gear for front to back after unhitching. Auto-leveling systems do the work for you, but it's still worth checking the result with an independent level — and never let them lift the wheels off the ground unless the manufacturer says so.
Common Leveling Mistakes
Lifting with stabilizers
Corner steadies and stabilizer jacks are not lifting jacks. Using them to level can bend them or twist the chassis.
Tire hanging off the block
A tire that overhangs a block's edge carries the whole corner's weight on part of its sidewall. Use blocks wider and longer than the tire's footprint.
Unhitching before chocking
On a slope, a trailer can roll the moment the coupling is released. Chock first, always.
Trusting an uneven surface
A level on a sloping step, a worktop or soft carpet reads the surface, not the vehicle. Zero your level once on a known reference, or calibrate your app.
Overshooting the ramp
Too much throttle and you roll over the top. Use ramps with an end stop, go slowly and have someone watch.
Ignoring soft ground
Ramps sink into wet grass overnight and you wake up tilted. Put a board underneath and re-check in the morning.
Leaving the ramps behind
Probably the most common loss on any campsite. A departure checklist — ramps, chocks, steadies, hookup — catches it every time.
Leveling once and forgetting
Extending slide-outs, filling the water tank and ground settling all shift the level. Take a quick reading once you're fully set up.
Field-Tested Tips
Small habits that make leveling quicker, from people who do it a hundred times a season.

- Can't get both axes perfect? Prioritize side to side. A slight front-to-back tilt with your head uphill is easy to live with.
- Use a deliberate tilt. Half a degree toward the shower drain or the grey-water outlet helps everything run out; a slight tilt lets rain run off the awning.
- Calibrate once, trust it forever. On truly level ground, zero your level to the vehicle. In Level RV that's Set as zero; after that the phone can sit on any stable surface.
- Bring a second phone. With Level RV's phone-to-phone Remote reading, the phone in the vehicle streams its level to the one in your hand — you watch the reading at the wheel instead of walking back and forth.
- Let it talk. Voice prompts or beeps tell the driver when to stop on the ramp without anyone shouting.
- Remember good pitches. Note what lift worked where. Level RV can save each spot with its GPS position, photo and rating, so next time you know before you arrive.
- Carry more lift than you think. One pair of 3-step ramps plus a couple of flat blocks to stack underneath covers almost any campsite.
- Keep the kit where you can reach it. Ramps and chocks in an outside locker, not under the bed.
- Mark your ramps. A strip of reflective tape makes them visible at night and harder to leave behind.
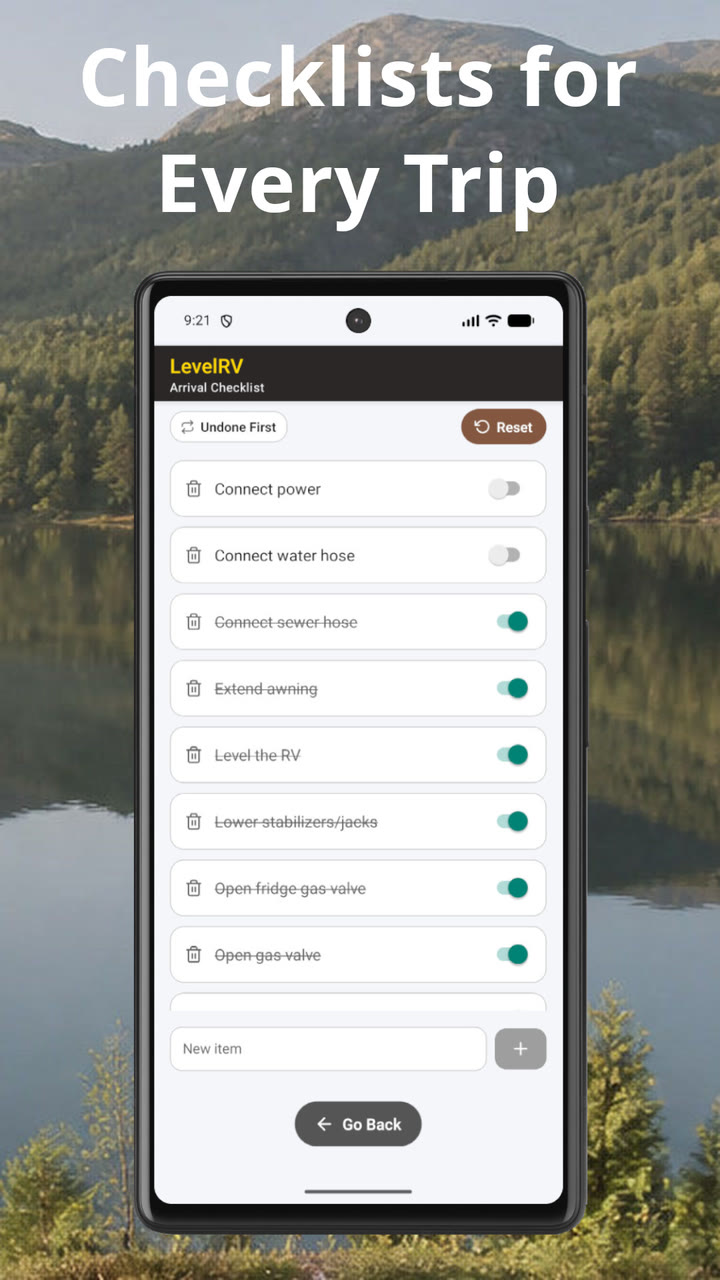
- Use a checklist. An arrival list (level, chock, steadies, gas, hookup) and a departure list (steadies up, ramps in, roof vents closed) make the routine automatic.
Field tests from the community
Travelers who put these habits — and the Level RV app — to the test on the road.


Frequently Asked Questions
How level does an RV or camper need to be?
Within about 1° in both directions feels perfectly level and suits every on-board system, including an absorption fridge.
Should I level side to side or front to back first?
Side to side first. It needs ramps or blocks under the wheels, which on a trailer can only be done while it's still hitched. Front to back comes second, using ramps on a motorhome or the jockey wheel / tongue jack on a trailer.
How high do my leveling blocks need to be?
It depends on the slope and on how wide your vehicle is. For a 2 m (79 in) track width, every degree of side-to-side tilt needs about 3.5 cm (1.4 in) of lift under the low-side wheels. A typical 10 cm (4 in) ramp covers about 3°.
Can I use my phone as a level?
Yes. Modern phones have accurate tilt sensors. Calibrate it once on level ground or against your vehicle, then use a leveling app that reads both axes at once. Level RV, for example, also calculates the lift per wheel and can stream the reading to a second phone.
More: how accurate are phone sensors compared with a bubble level?
Can I level my caravan or RV with the stabilizers?
No. Corner steadies and stabilizer jacks are designed to stop movement, not to carry the vehicle's weight. Level with ramps, blocks, the jockey wheel or proper hydraulic leveling jacks, then lower the stabilizers until they just make firm contact.
Do I need to level for just one night?
At least roughly, yes — for a good night's sleep and, with an absorption fridge, to keep it working properly. On an overnight stop many travelers simply park with their head uphill and fix only side to side.
Where should I put the level or phone?
Somewhere fixed to the vehicle that won't move while you work — a dashboard holder, a shelf or the floor near the middle. With a calibrated phone app the exact surface doesn't matter, as long as the phone stays put between calibration and reading.
How do I level when I'm on my own?
Use audible cues so you don't have to look at a screen while driving onto the ramp, and a second phone as a remote display while you adjust the jockey wheel or blocks outside. Level RV's Remote reading links two phones directly over the level phone's hotspot — no internet needed.