Level RV: Setup & Leveling Guide
The complete Level RV how-to — initial setup, profiles, active leveling, and saving your favorite spots. This is a reference, not a story: use the trail on the left to jump straight to what you need.
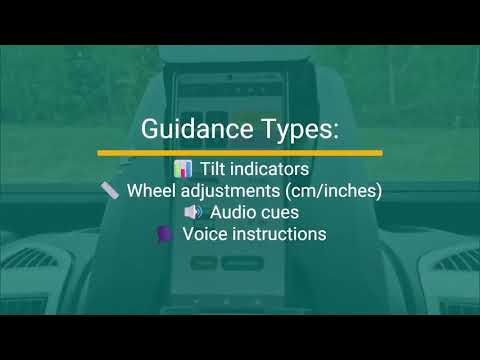
Quick Intro
A short walkthrough of the app on YouTube.
Watch the quick intro ↗Initial Setup
Four one-time steps that tell the app what your phone, and your RV, look like.
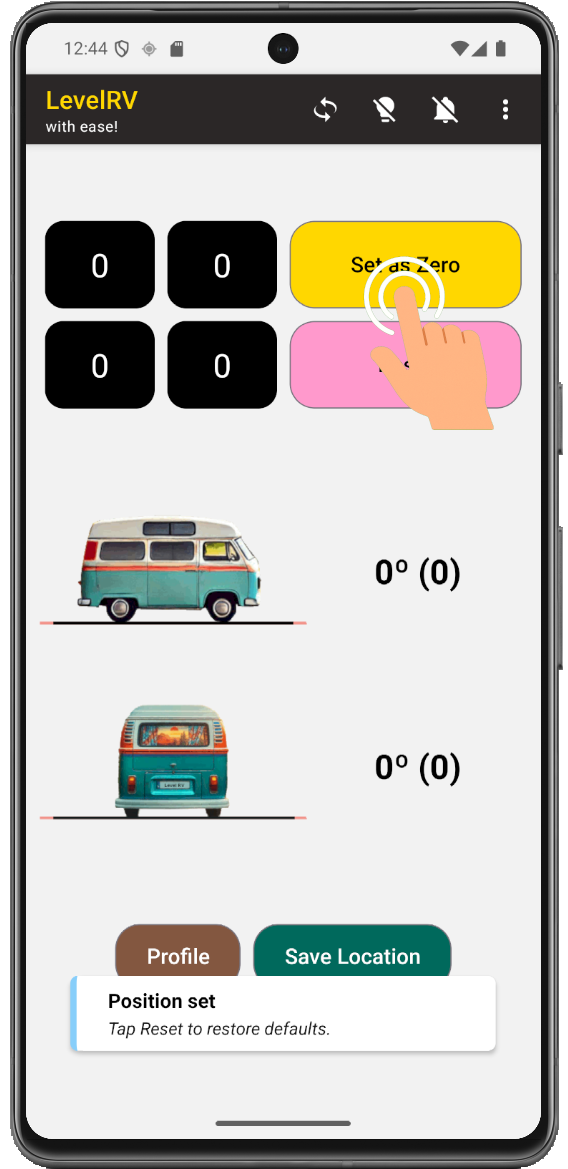
Set as Zero (Calibration)
Defines what "level" means for wherever you've placed the phone.
- 1
Place the Phone
Put the phone in your chosen position — it doesn't have to be on a flat spot. Any location works, e.g. the dashboard.
- 2
Tap Set as Zero
The app records this exact position as "level" going forward.
RV Dimensions
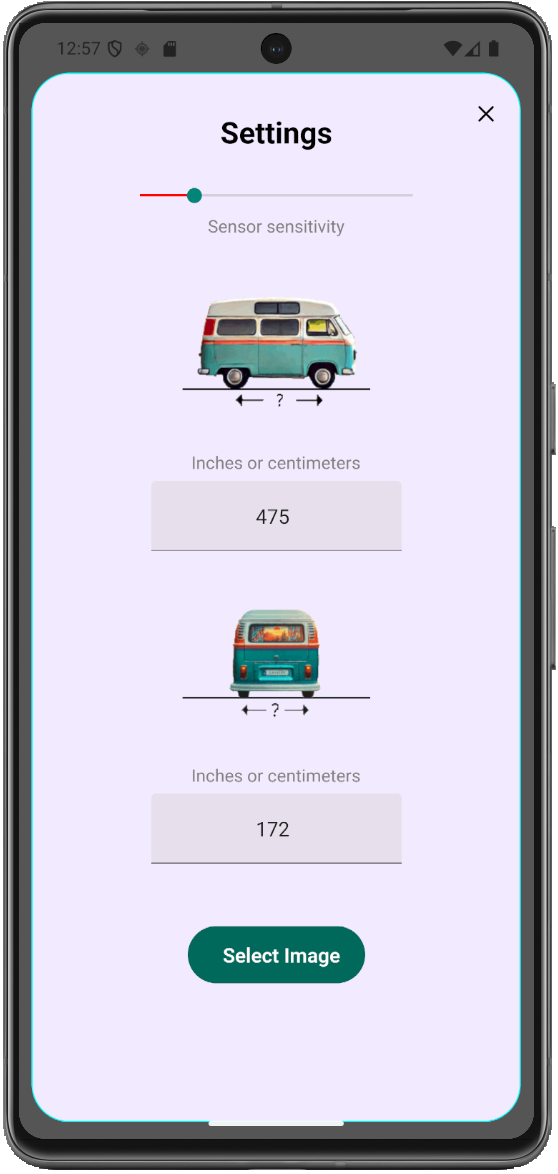
Enter your vehicle size to enable wheel-by-wheel leveling guidance.
- 1
Open Settings
Go to Menu → Settings.
- 2
Enter Length
Front ↔ rear axle distance.
- 3
Enter Width
Left ↔ right wheel distance.
Sensor Sensitivity
Controls smoothness vs. responsiveness of the readout.
Low
Stable and precise — smooths out small jitters.
High
Fast to respond, but shows more jitter.
Vehicle Image Selection
Select a vehicle image matching your RV type for better visual guidance.
- 1
Open Settings
Go to Menu → Settings.
- 2
Tap Select Image
Opens the vehicle image picker.
- 3
Choose Your Vehicle
Select the image that best represents your vehicle.
Profiles
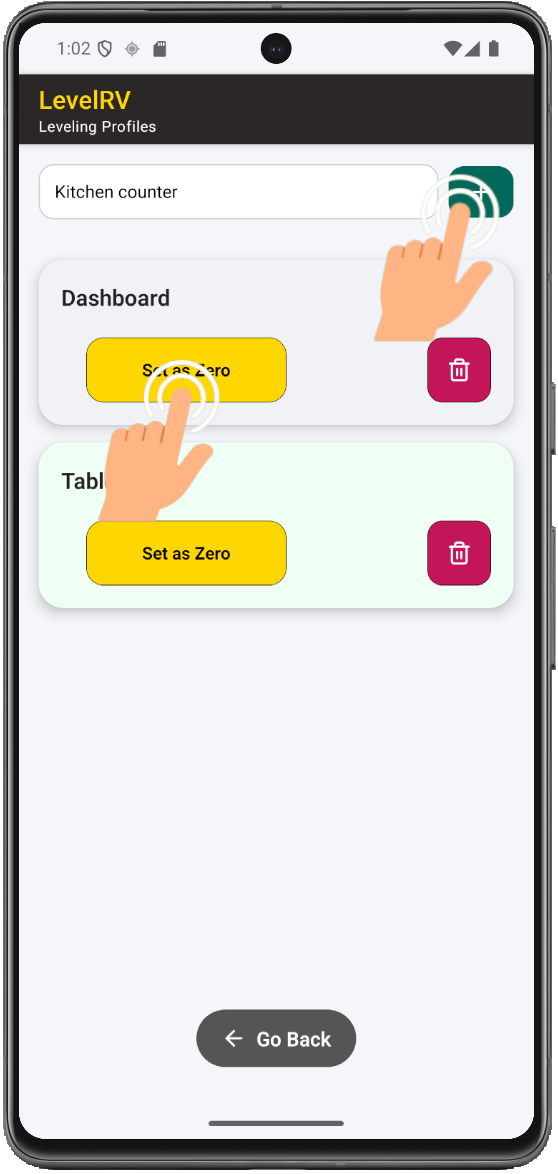
Profiles allow different calibration setups based on phone location. Common examples:
Create a Profile
- 1
Open Menu
Go to Menu.
- 2
Tap Leveling Profiles
Opens the profiles list.
- 3
Name It
Enter a name and tap +.
- 4
Place the Phone
Put it in the position this profile represents.
- 5
Tap Set as Zero
Calibrates this profile to that position.
Using / Loading a Profile
- 1
Tap Profile
On the main screen, tap Profile.
- 2
Choose the Name
Tap the leveling profile's name to load it.
Active Use (Leveling)
The core loop, every time you park.
- 1
Park Your Vehicle
Find a spot and stop.
- 2
Select a Profile
Choose a saved profile, or stick with the default.
- 3
Place the Phone
In the saved position for that profile.
- 4
Follow the Guidance
Adjust until the app reads level.
Guidance Types Available
Tilt Indicators
Left/right and front/back tilt shown live.
Wheel Adjustments
Corrections given in cm / inches, per wheel.
On-Demand Read-Out
Tap a wheel for a spoken adjustment value.
Audio Cues
Tones that change as you approach level.
Voice Instructions
Spoken step-by-step direction while you adjust.
Keep the Screen On
Enable it in the top menu to stop the screen from dimming mid-adjustment.
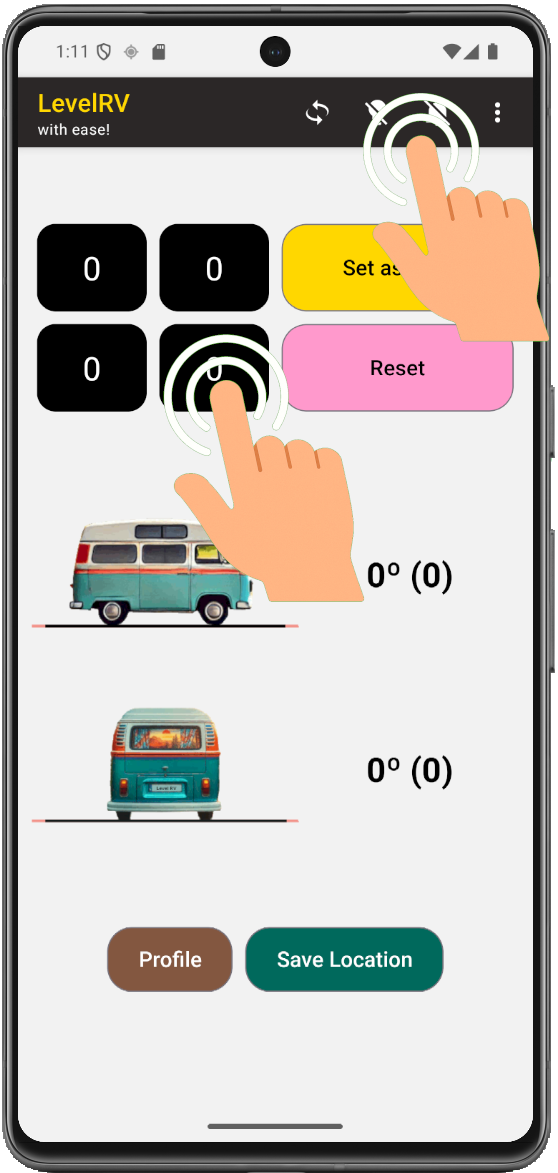
Goal: reach ~0° level. ±1° usually feels perfectly level.
Save Geo Location
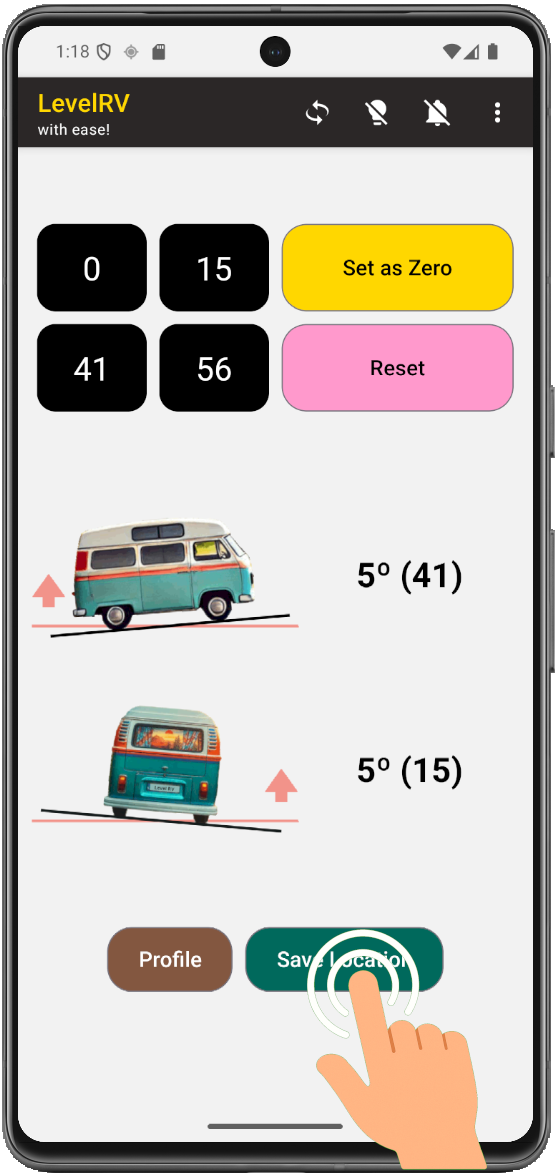
One tap, and the spot is on your personal map for next time.
- 1
Tap Save Location
From the main leveling screen.
- 2
Done
GPS/geo location is stored automatically.
Optional Fields
Photo
Attach a picture of the spot.
Title
Name the location so it's easy to find later.
Description
Notes about the site — access, surface, hookups.
Rating
Your own rating, for comparing spots later.
Manage Geo Locations
Everything you've saved, in one list.
How to Access
- 1
Open Menu
Go to Menu.
- 2
Tap My Places
Opens your saved locations list.
- 3
Pick a Location
Tap a row / location of choice to edit.
Edit Options
Title
Rename the saved spot.
Description
Update your notes about the site.
Rating
Adjust your rating of the spot.
Photo
Add or replace the attached picture.
Navigate back to a spot: Tap the Map Icon on the locations list.
Search Your Spots
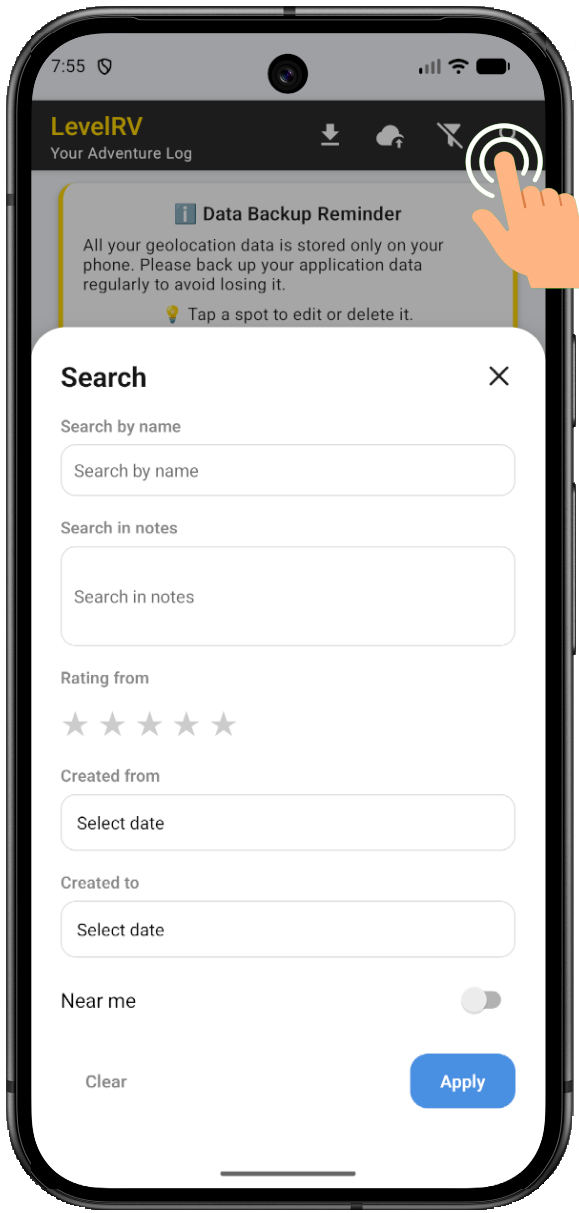
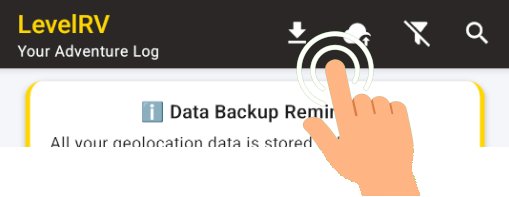
Use Search to narrow down your spots list.
Summary
The whole guide, in five lines.
- Set up vehicle dimensions and calibration.
- Use profiles for different phone positions.
- Level using visual, audio, and wheel guidance.
- Save great locations with one tap.
- Edit and navigate back anytime.
Result: a smart leveling system + a personal map of perfect RV spots.
Try the app's Checklists feature to never forget a step along the way — like a departure checklist before you pull out.